Safety records are created to document safety issues or violations observed at a site related to a milestone.
- Safety records can be created using both the web application and the mobile application.
- Once a safety record is created, it is documented, and necessary safety actions can be taken.
Safety Creation in the Web Application
Steps to Create a Safety Record:
1. Log in to the Web Application
- Use your credentials (email and password).
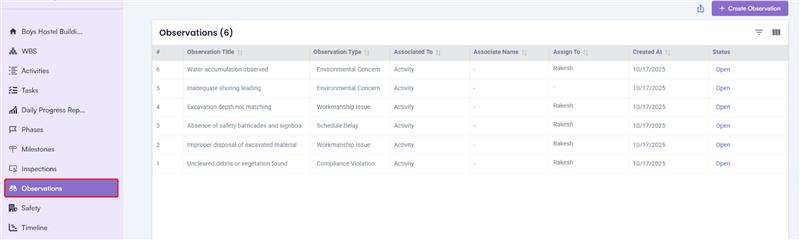
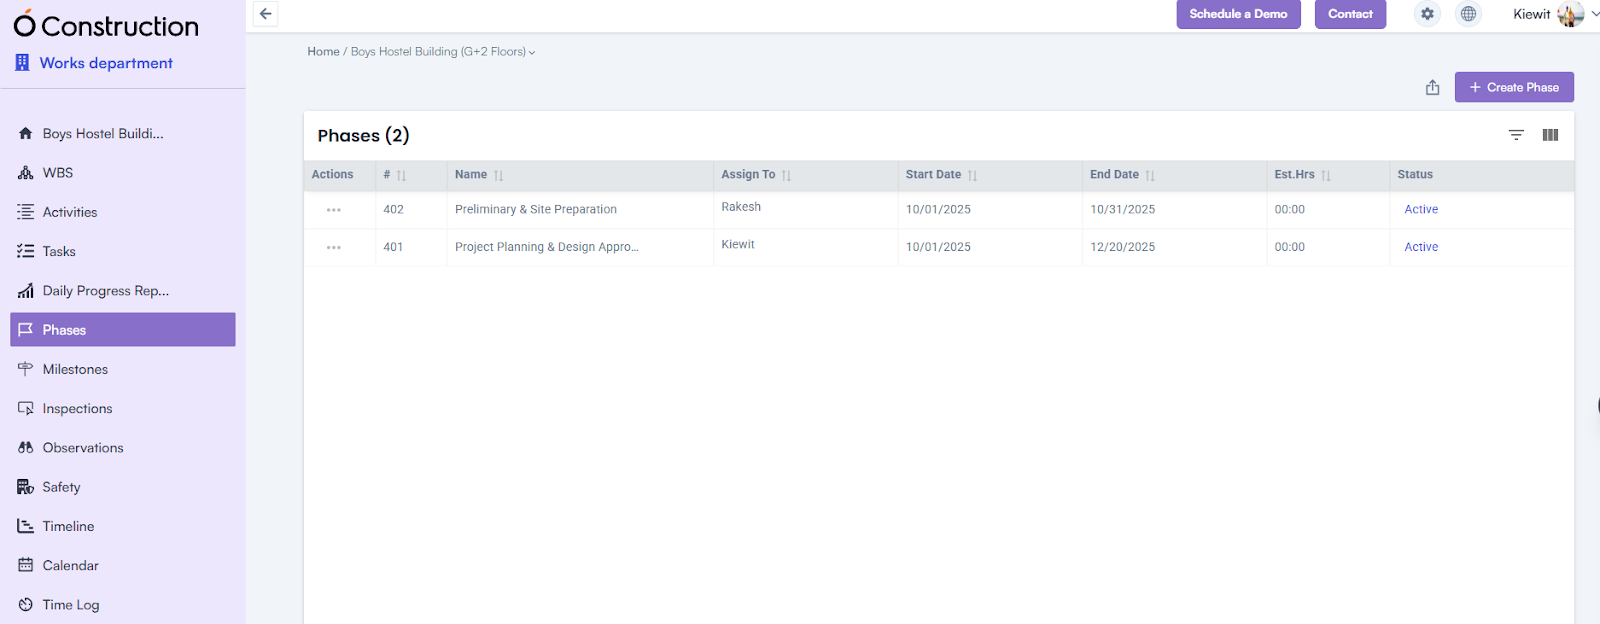
2. Navigate to the Safety Section
- Select a Project.
- Go to the Left Menu and click on Safety.
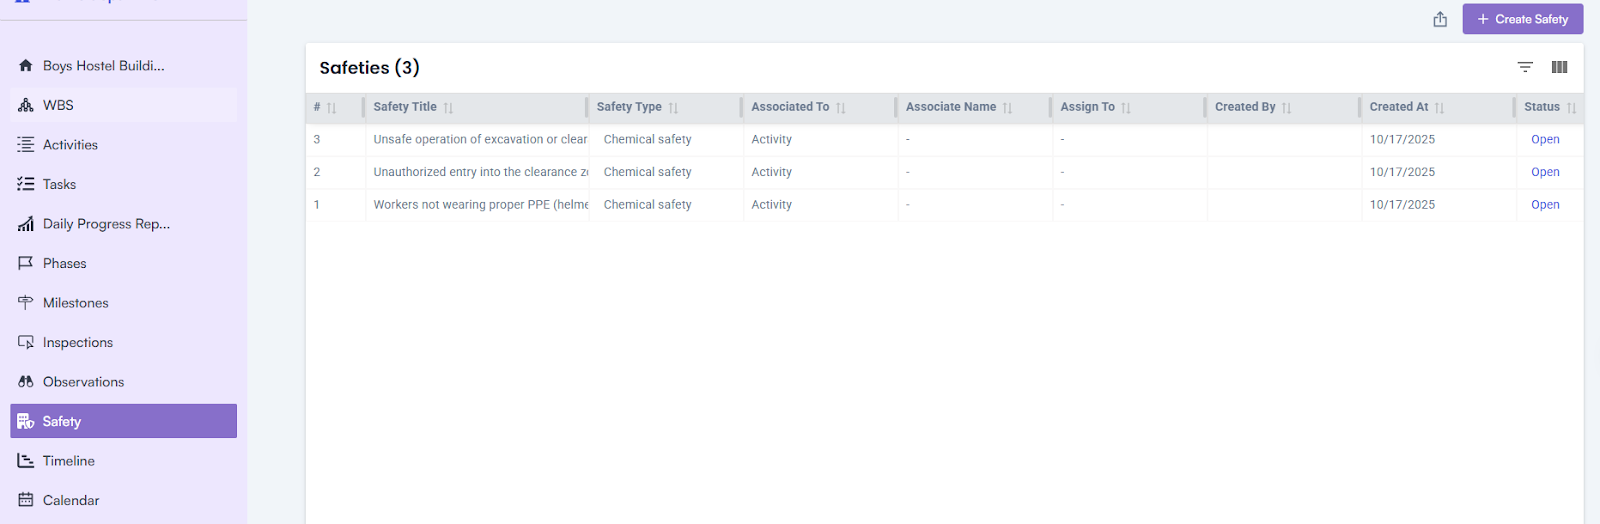
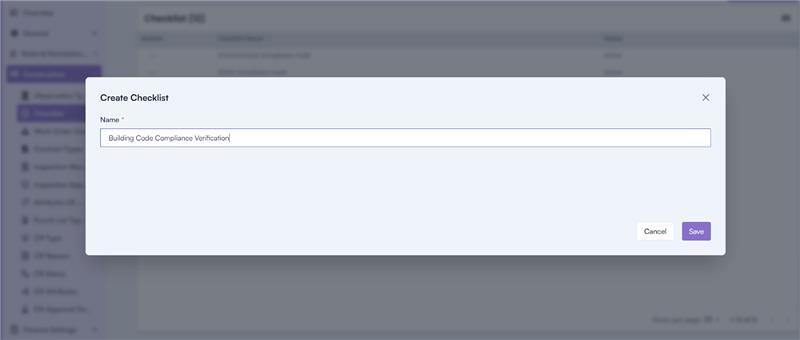
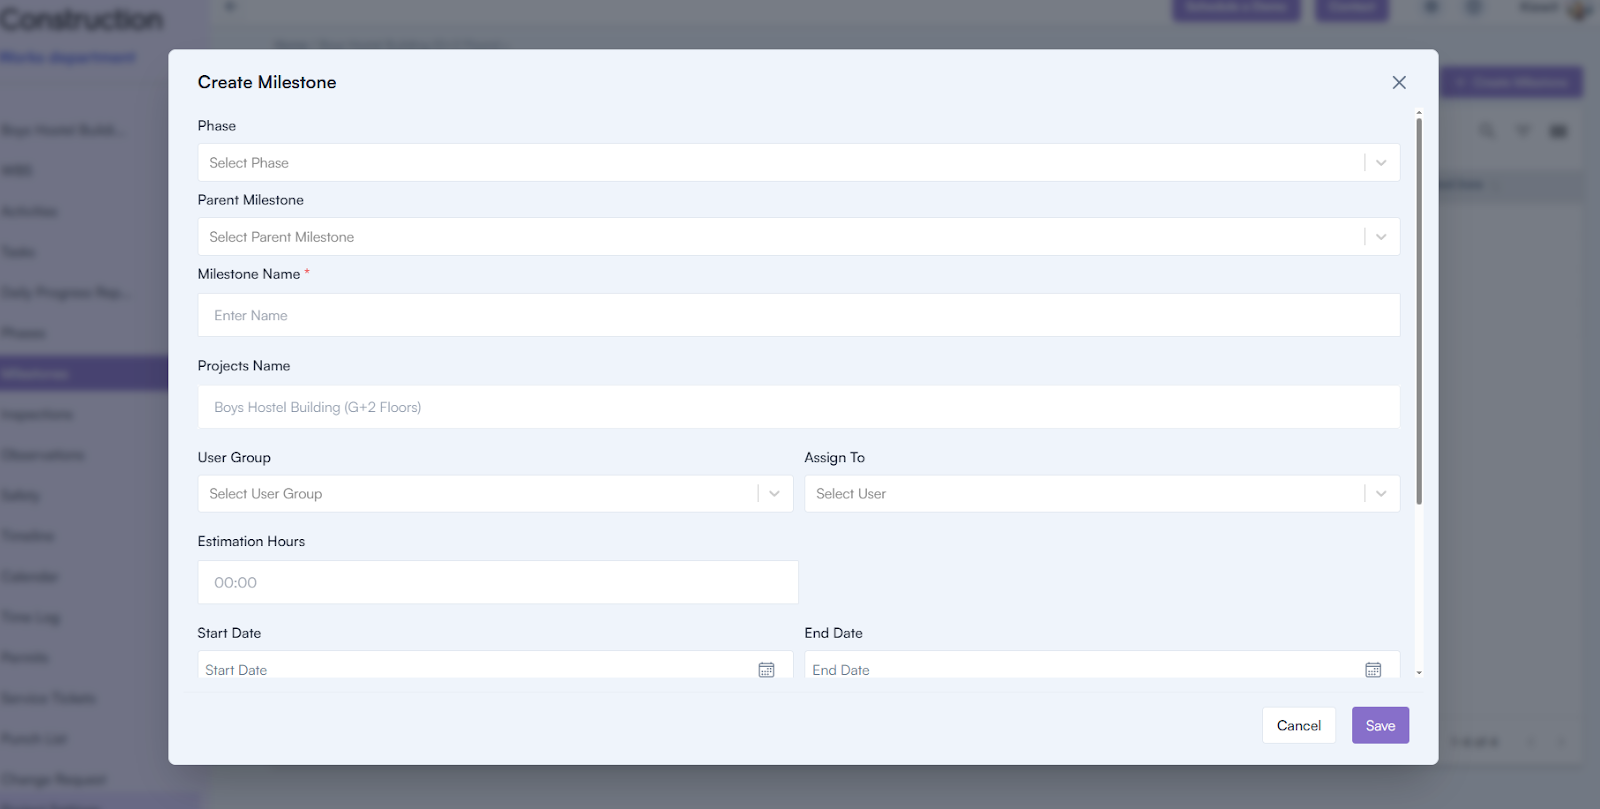
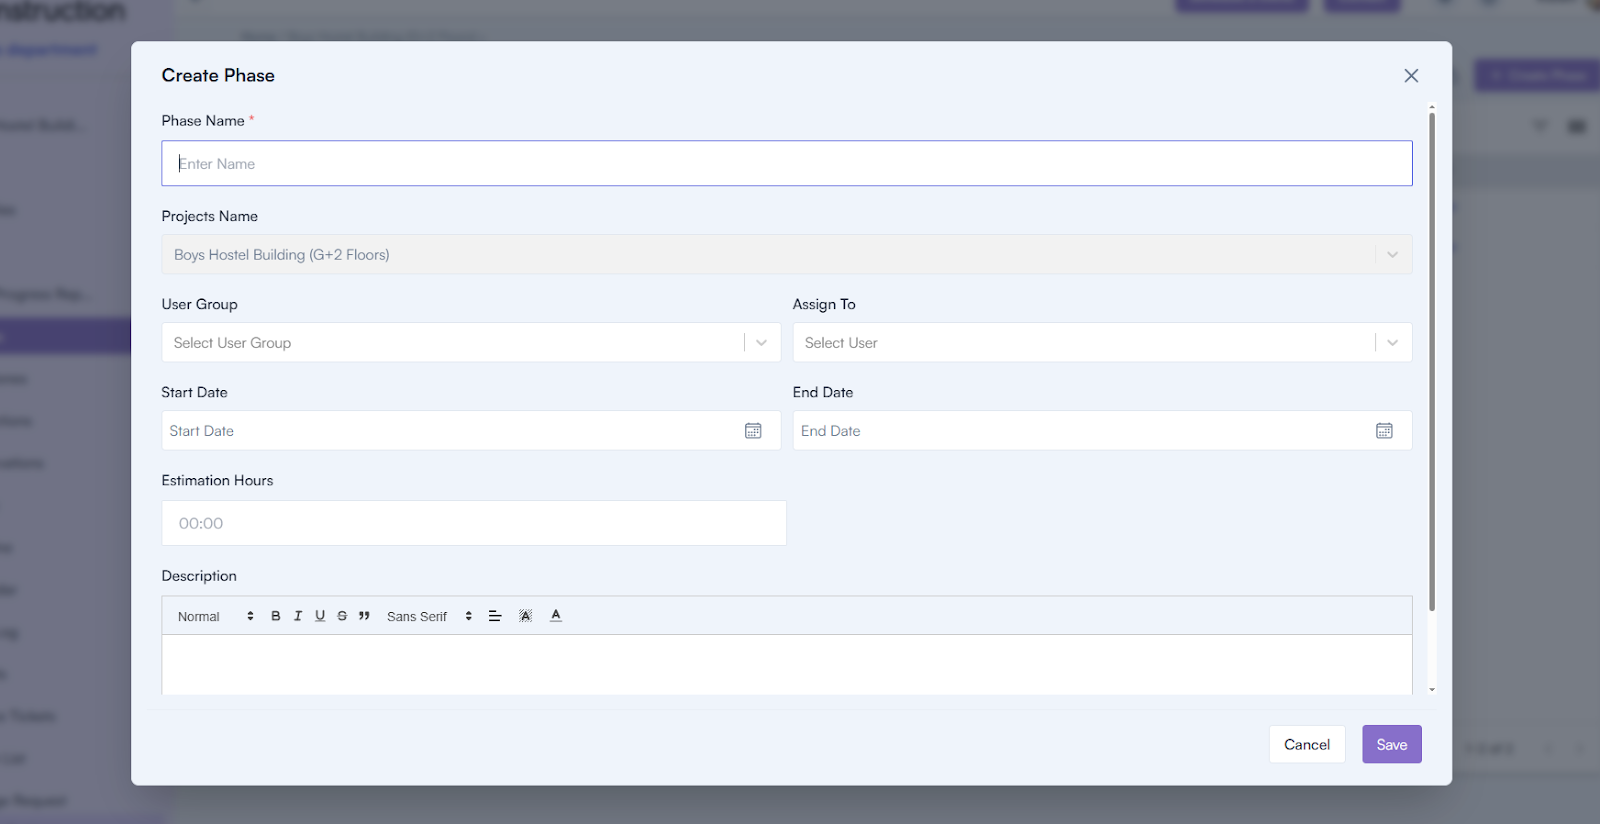
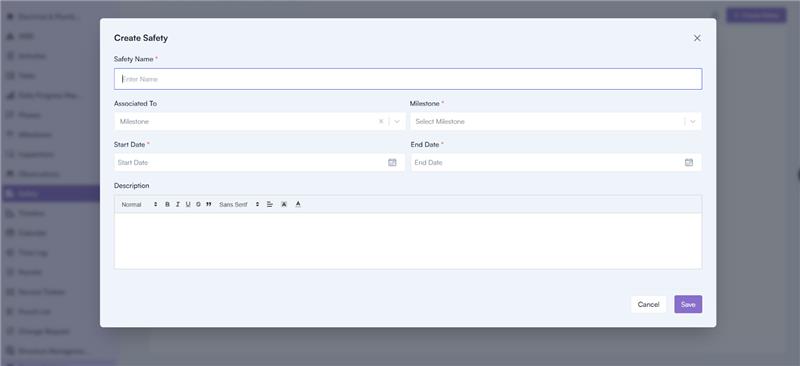
3. Create a New Safety Record
- Click on the Create Safety button.
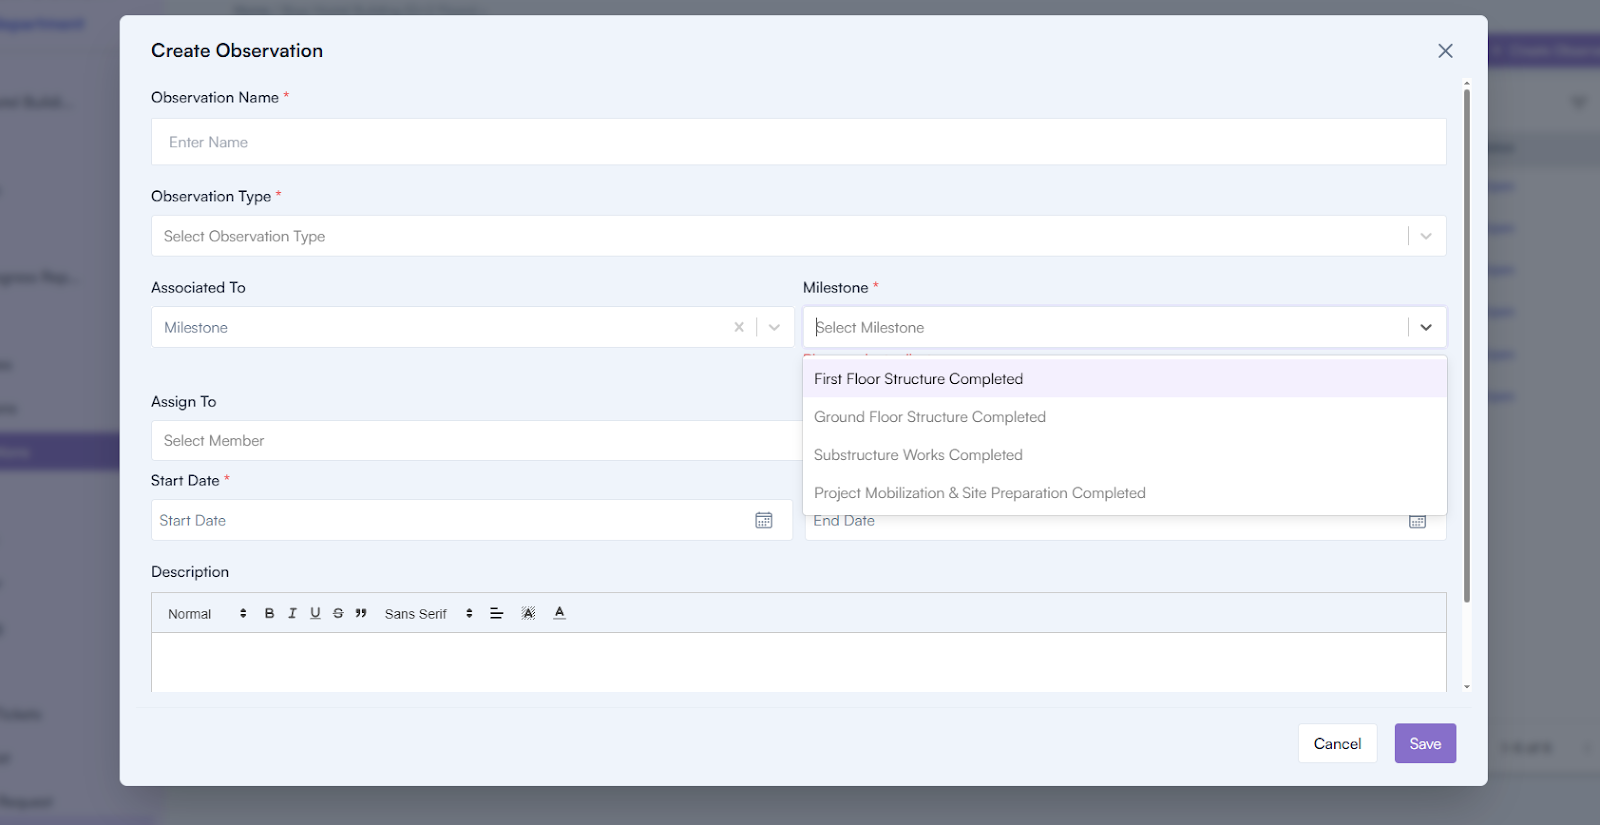
- Fill in the following details:
- Enter Safety Name*
- Enter Milestone Name*
- Select Start Date
- Select End Date
- Enter a Description
- Click on the Save button to create the safety record.
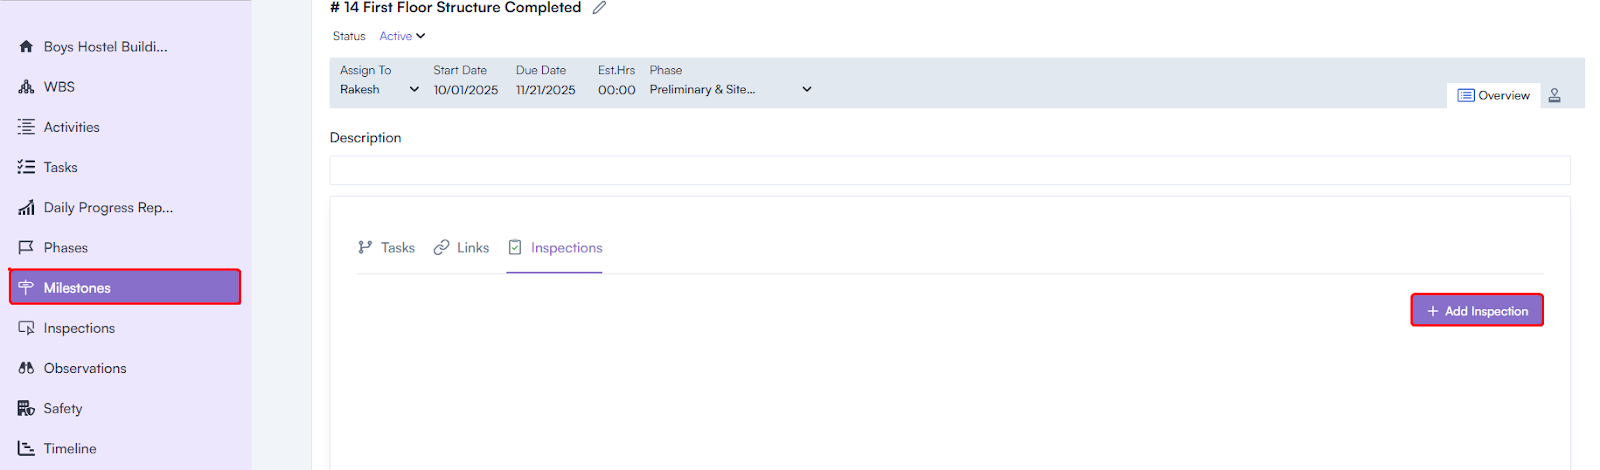
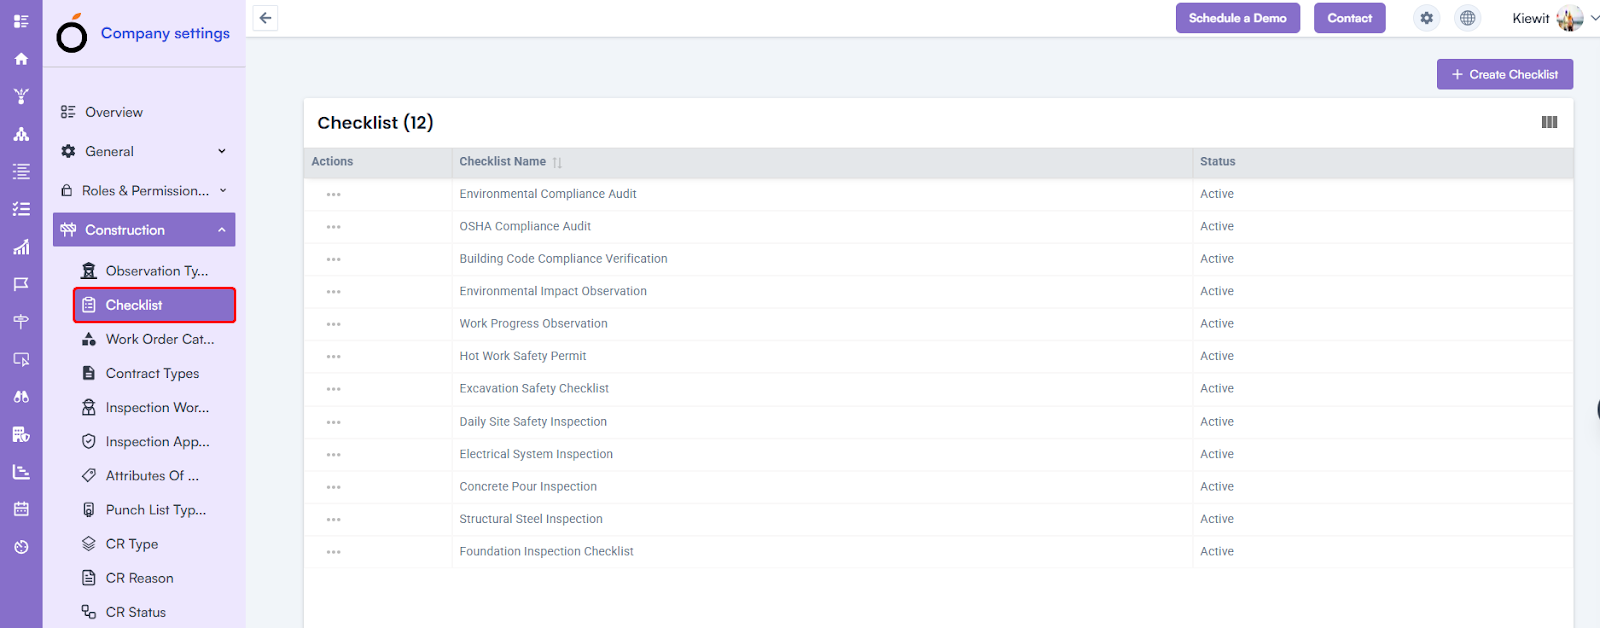
Safety Details Page
The Safety Details Page displays all the information related to the safety record and includes the following features:
1. Attachments
- Displays all attachments added during safety creation and safety actions.
2. Activities
- Shows all activities related to the safety record.
3. Safety Actions
- Displays all safety actions added from the mobile application.
Safety Creation in the Mobile Application
Steps to Create a Safety Record:
1. Log in to the Mobile Application
- Use your email and password to log in.
2. Navigate to Safety Creation
- Go to the Footer Section.
- Click on the New Actions icon and select Log Safety.
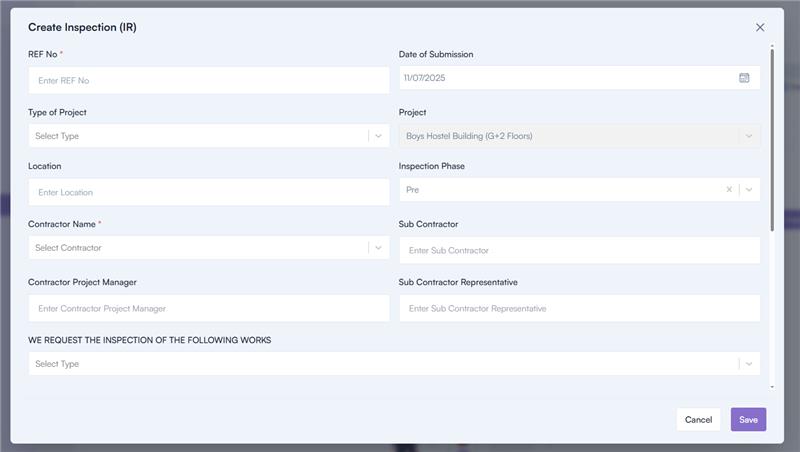
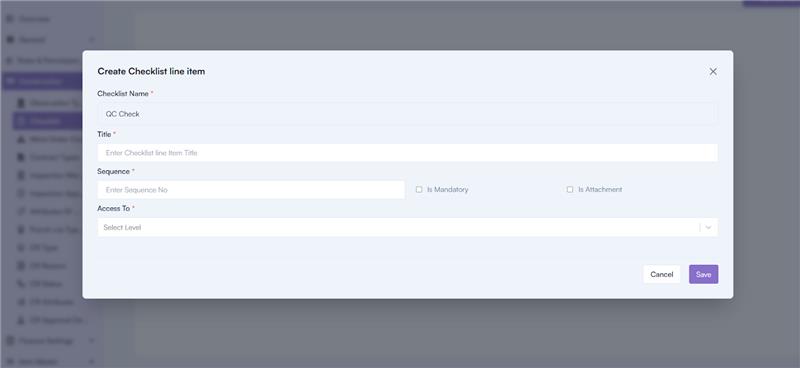
3. Fill in Safety Details:
- Safety Name
- Safety Type
- Select Project
- Select Milestone
- Select Priority
- Assign To
- Start Date
- Due Date
- Enter Recommended Action
- Enter Comments
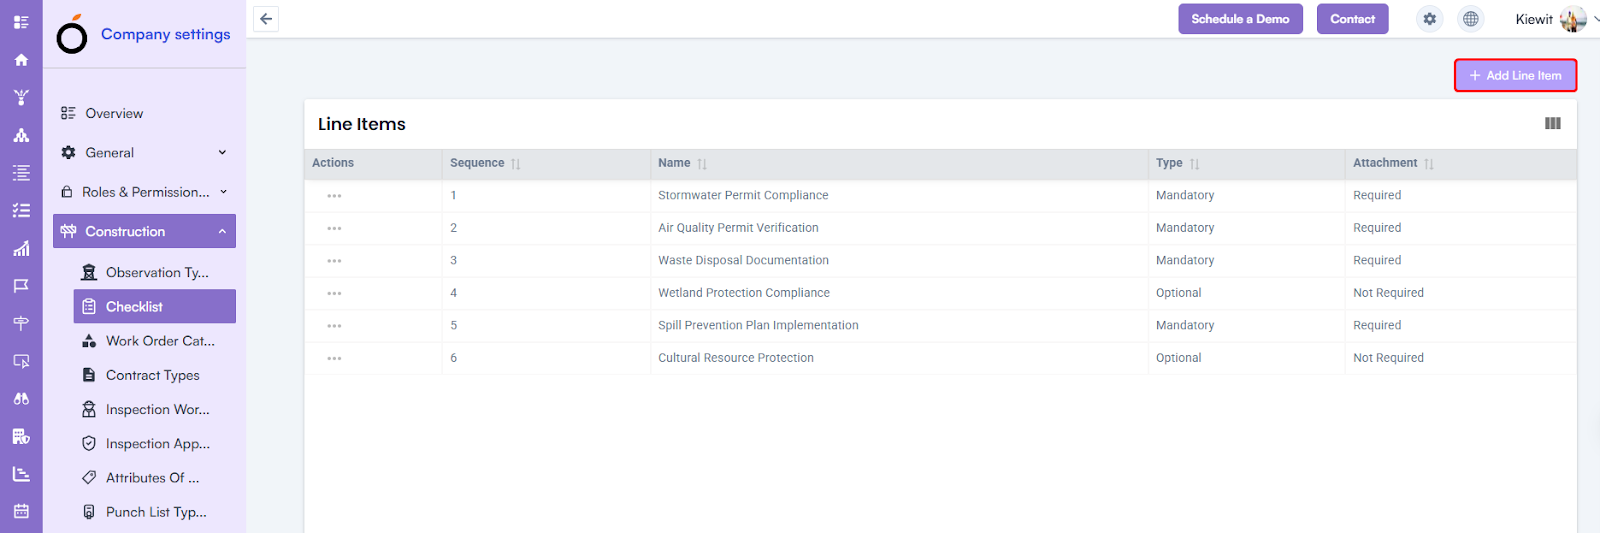
4. Add Attachments:
- Attach files such as images or videos.
5. Save the Safety Record:
- Click on the Save button to submit the safety record.
Adding Safety Actions
Once a safety record is created, safety actions can be added to address the issue.
Steps to Add Safety Actions (Mobile Application):
1. Log in to the Mobile Application
- Use your email and password.
2. Access the Safety Section:
- Go to the Footer Section and click on the More Menu icon.
- Click on Safety.
- Select a safety record from the list.
3. Add a Safety Action:
- In the Safety Details Page, go to the Header Section.
- Click on the Safety Actions tab.
- Enter a Comment.
- Attach any relevant files (e.g., images or documents).
- Click on the Send icon to submit the safety action.