Overview
Contractor Contacts provide direct communication channels between your organization and contractors.
Navigation Path
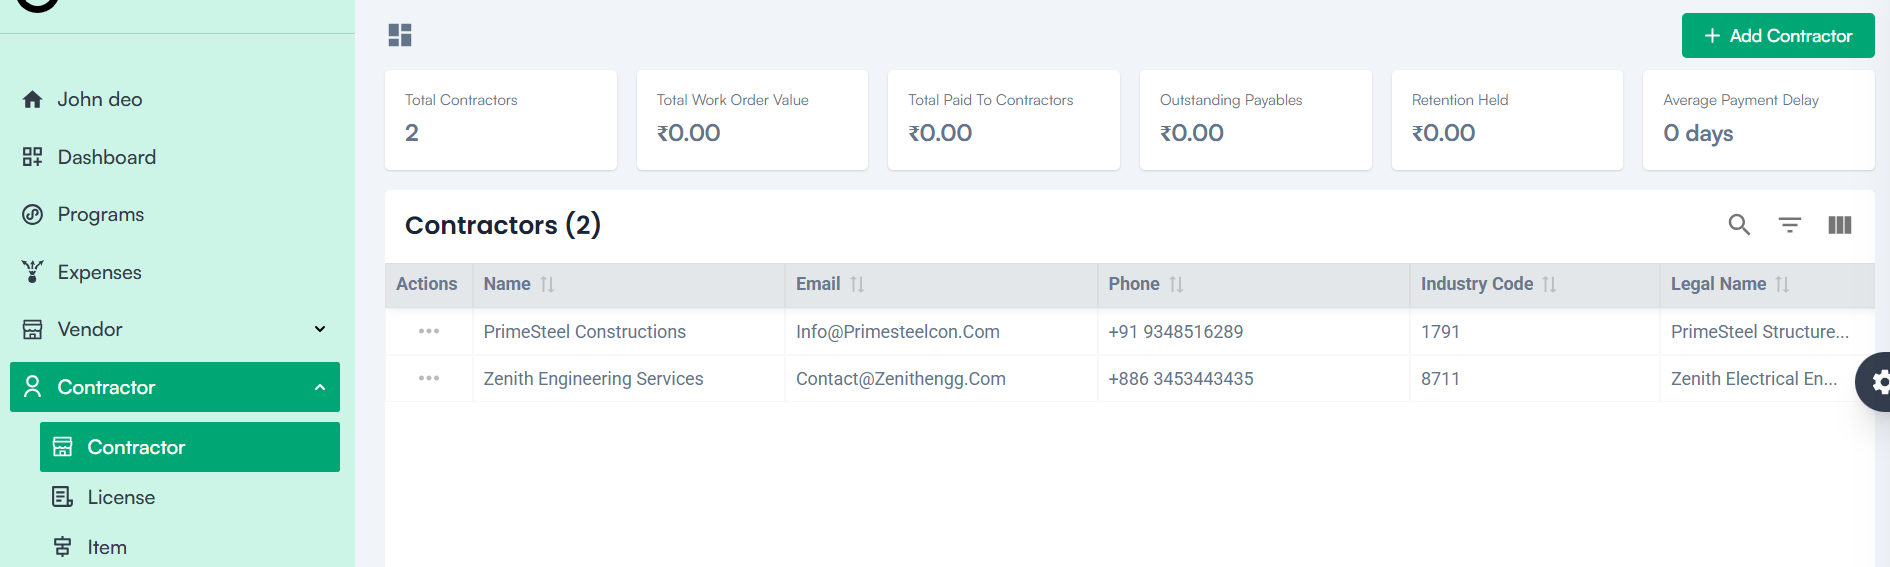
- Log in to the application.
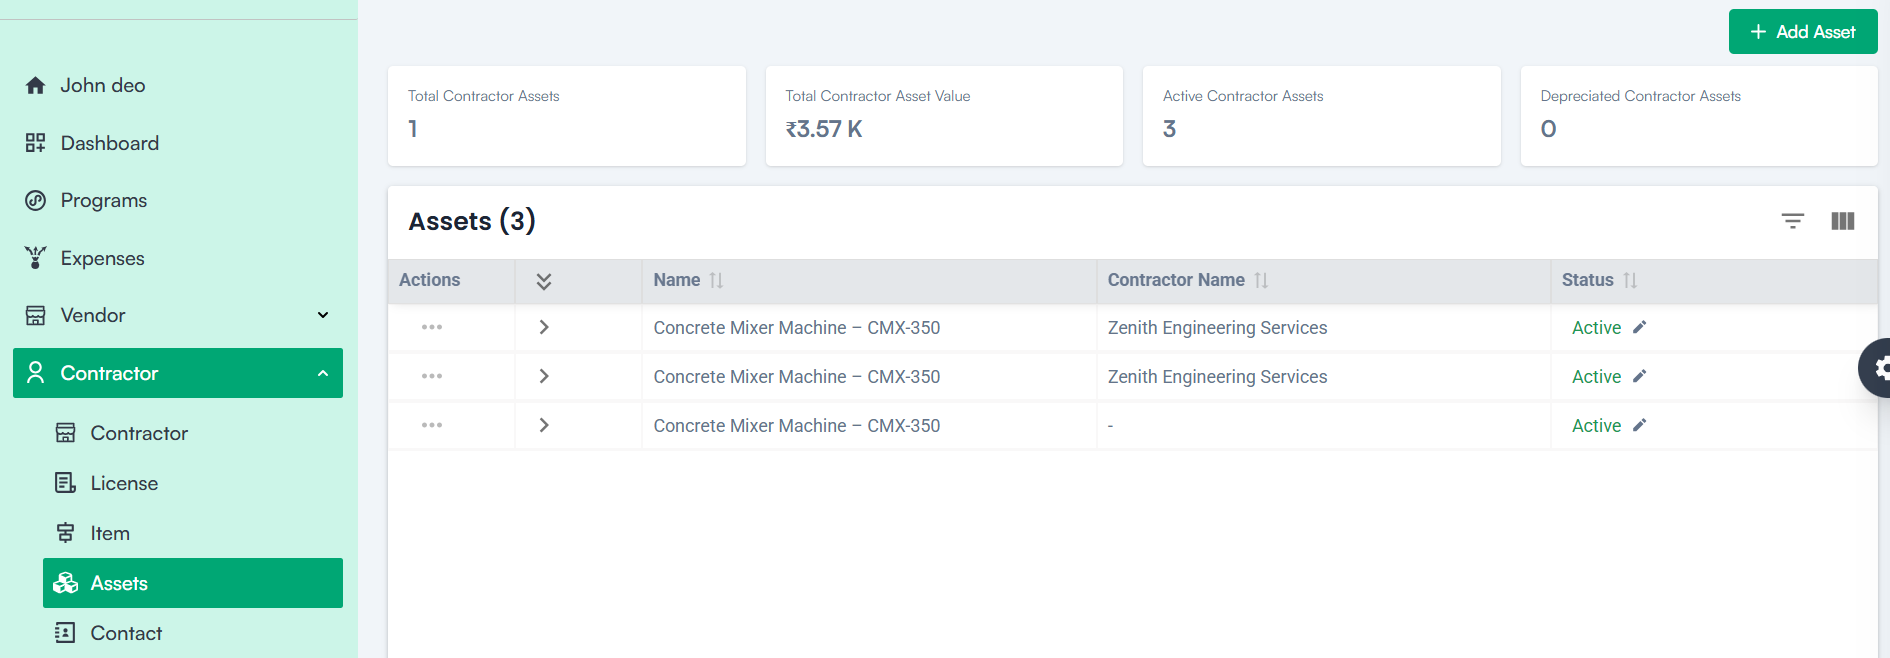
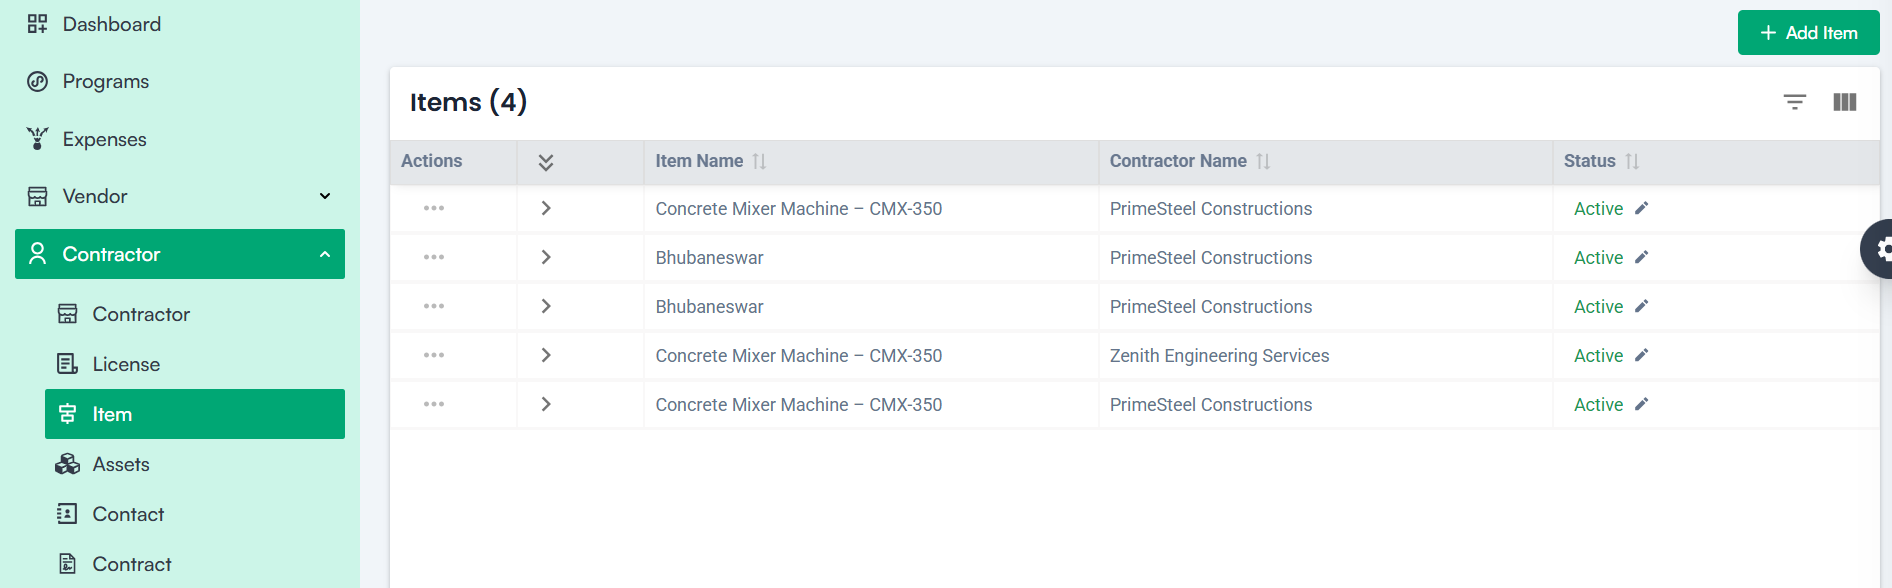
- Navigate to the left menu and click Contractor.
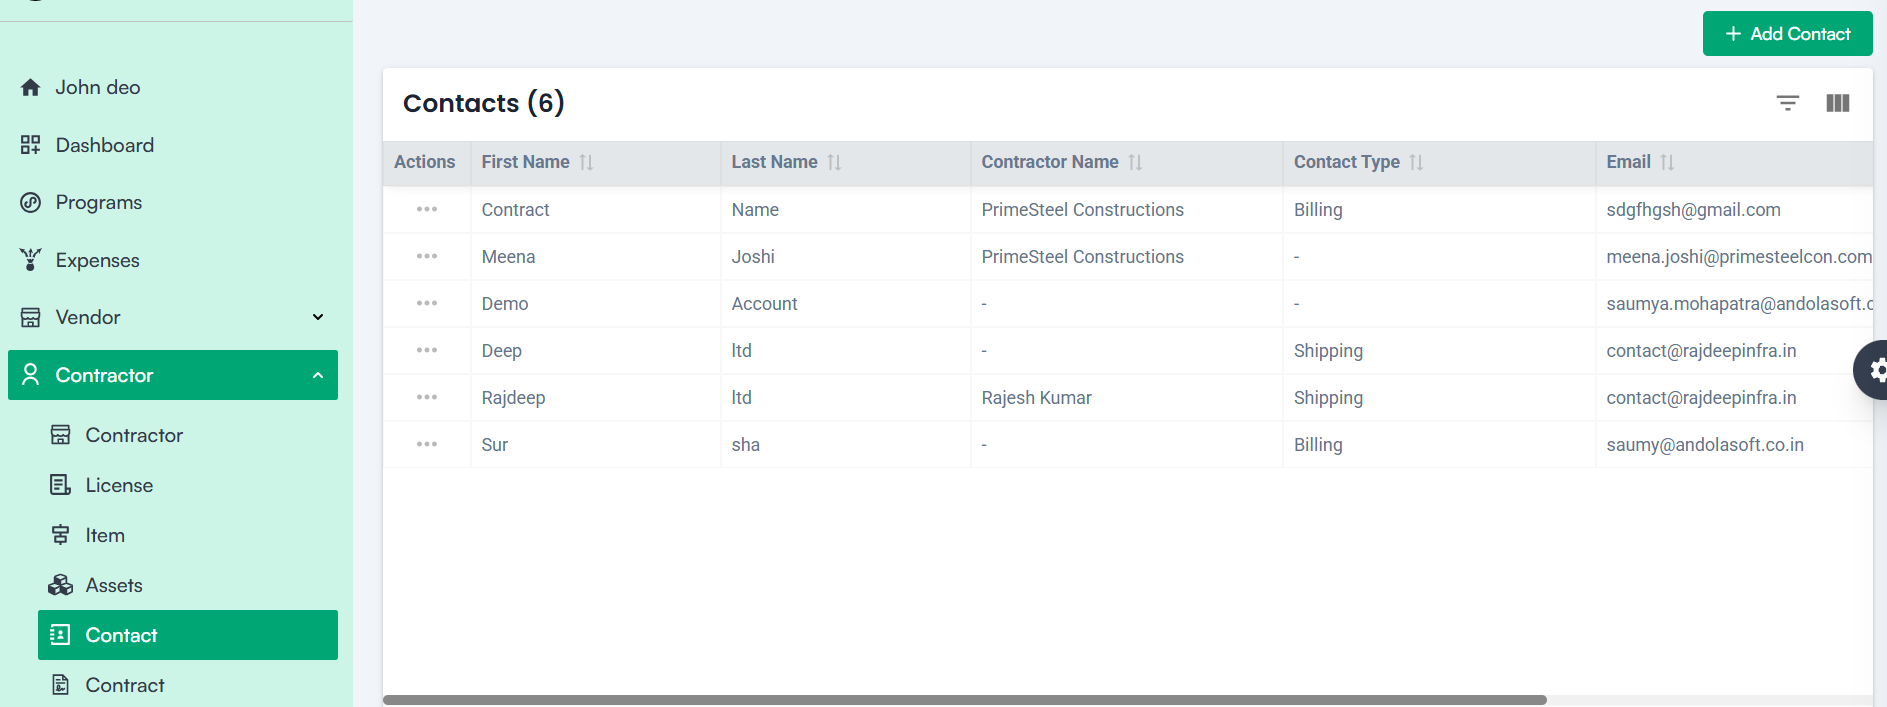
- Select Contact.
- Click Add Contact.
Field Descriptions
1. Select Contractor*
- Choose the registered contractor to whom the contact belongs. Only listed contractors will appear.
2. First Name*
- Enter the first name of the contact person.
3. Last Name*
- Enter the last name of the contact person.
4. Contact Type
- Select the purpose of the contact from options such as Billing, Shipping, or Purchase.
5. Designation*
- Enter the job title or role, such as “Procurement Manager” or “Accounts Officer.”
6. Email*
- Provide the official email address for communication.
7. Phone Number
- Enter the phone number, supporting international formats.
8. Address Line 1 & 2
- Enter the physical address, such as the office or site location.
9. Country / State / City / Zip Code
- Provide detailed geographical information for accurate recordkeeping.
Action Buttons
- Save – Saves the contact under the contractor’s profile.
- Cancel – Discards the data and closes the form without saving.
Note: For Creating a Contractor Contact
1. Mandatory Fields:
- Contractor Name *
- First Name *
- Last Name *
- Designation *
- Email *
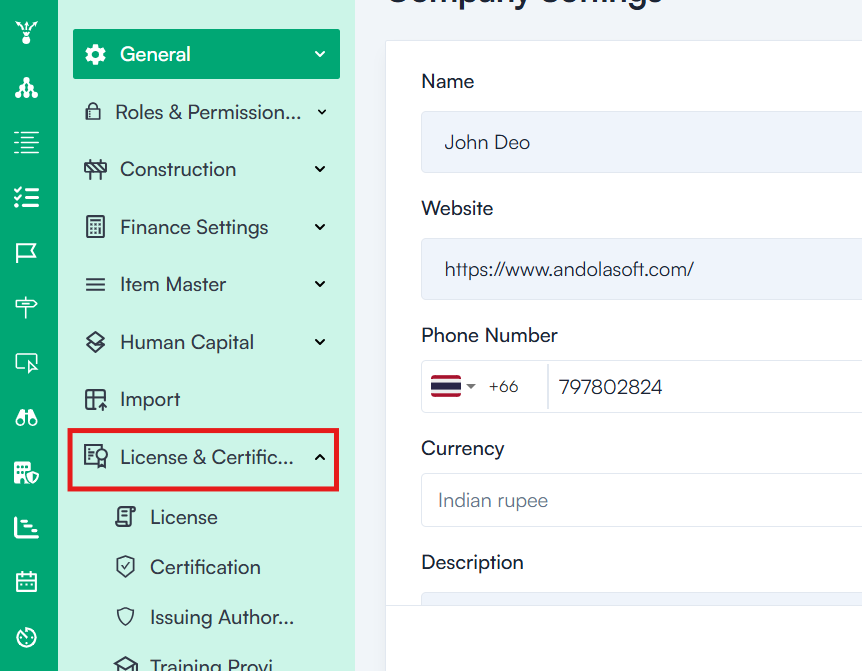
2. Configurations in Company Settings:
- No additional configurations required. Contacts are directly linked to registered contractors.
Additional Notes
Direct Communication
Contacts can be used to initiate emails, calls, or correspondence directly from the contractor’s profile.
Billing and Shipping Coordination
Separate contacts for billing and shipping ensure inquiries and logistics are directed to the right person, improving response time and efficiency.