Overview
The Vendor Asset section enables users to associate physical or service assets with vendors, including pricing details.
Navigation Path
- Log in to the application.
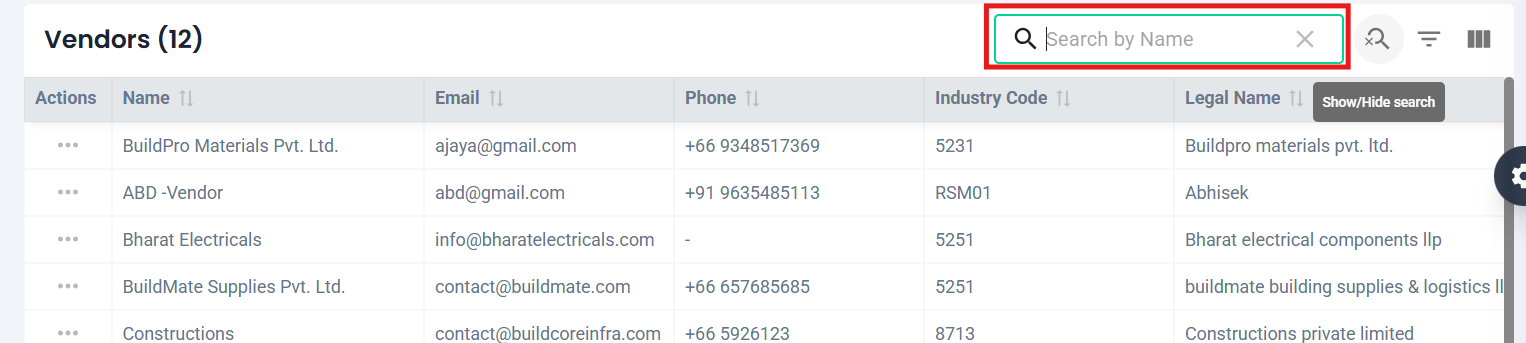
- Navigate to Vendors.
- Click Assets.
- Click the + Create Vendor Asset button.

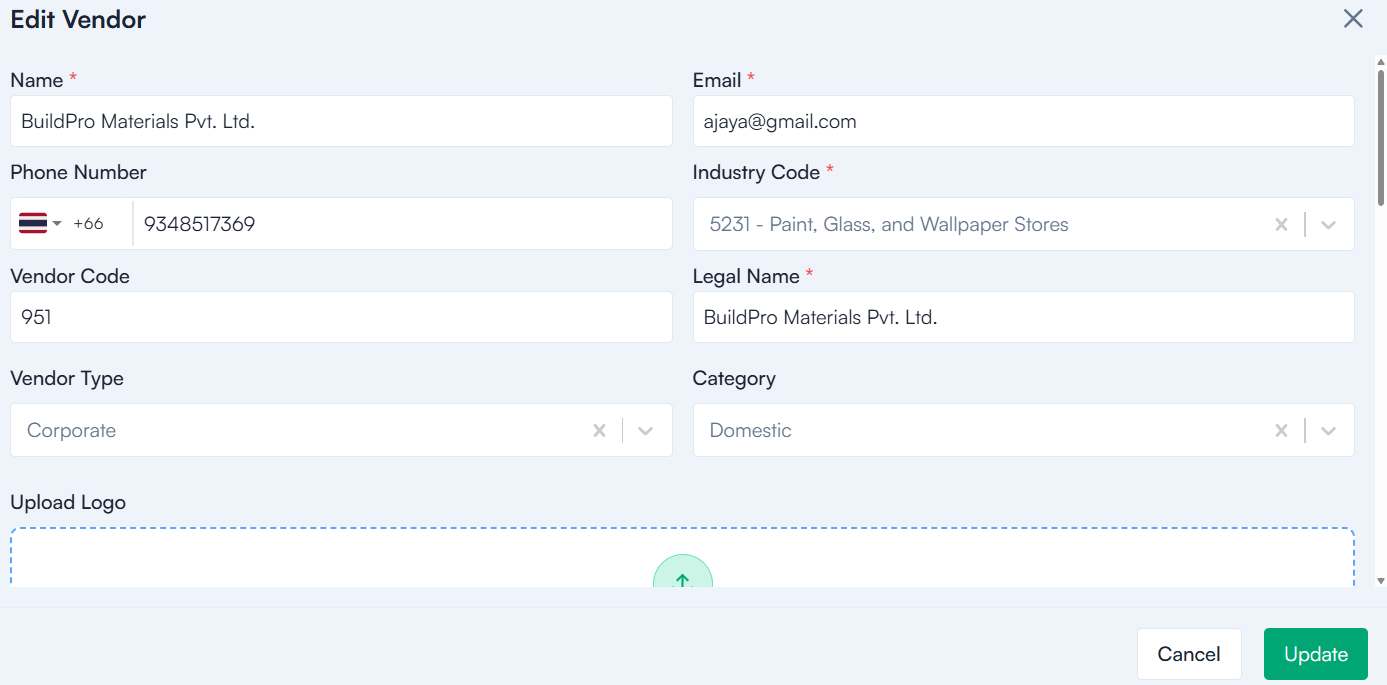
Form Fields Explained
1. Vendor
- Select the vendor to whom the asset is associated. This is a required field, and only registered vendors will appear in the list.
2. Select Asset
- Assets must be created beforehand in Company Settings ➝ item Master ➝ Asset. Once created, they appear in the dropdown to ensure standardization and prevent duplication.
3. Price
- Enter the unit price of the asset being provided by the vendor. This is a required numeric field used in valuation and reporting.
4. Currency Code
- Choose the currency used for asset pricing.
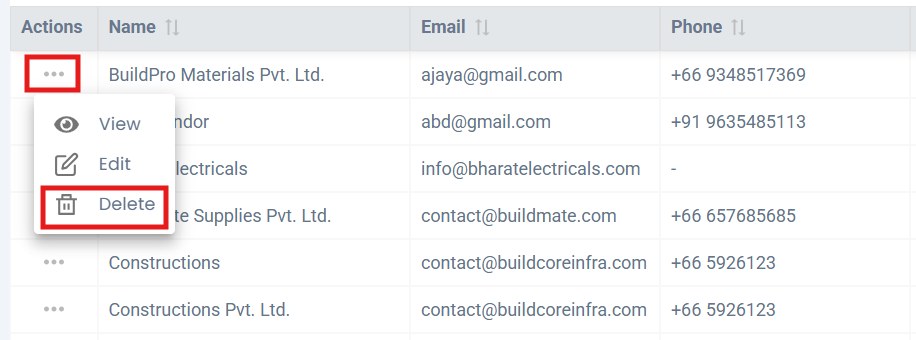
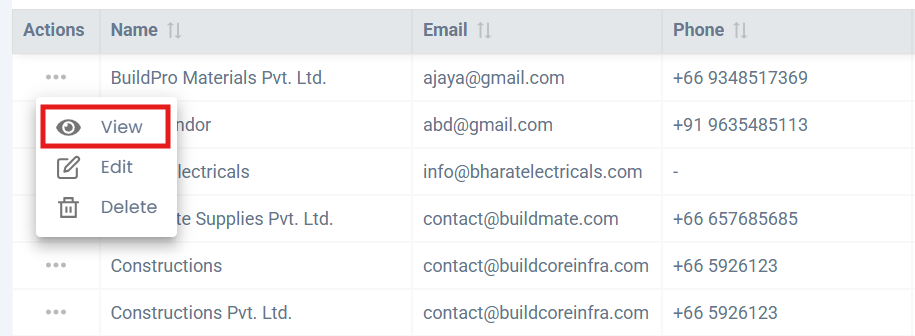
Action Buttons
- Save – Saves the asset details and links them to the selected vendor.
- Cancel – Closes the form without saving any changes.
Note: For creating a Vendor Assert:
1. Mandatory Fields:
- Vendor Name *
- Assert *
- Price *
- Currency Code*
Vendor Asset KPI’s
- Total Vendor Assets – Displays the number of assets assigned across vendors.
- Total Vendor Asset Value – Summarizes the combined value of all vendor assets.
- Active Vendor Assets – Tracks assets currently in use or valid.
- Depreciated Vendor Assets – Monitors assets that have reduced in value over time or reached the end of their lifecycle.