The Client Invoice module allows to create, manage, and track invoices related to approved client contracts.
It ensures accurate billing, tax calculation, and payment tracking for each project.
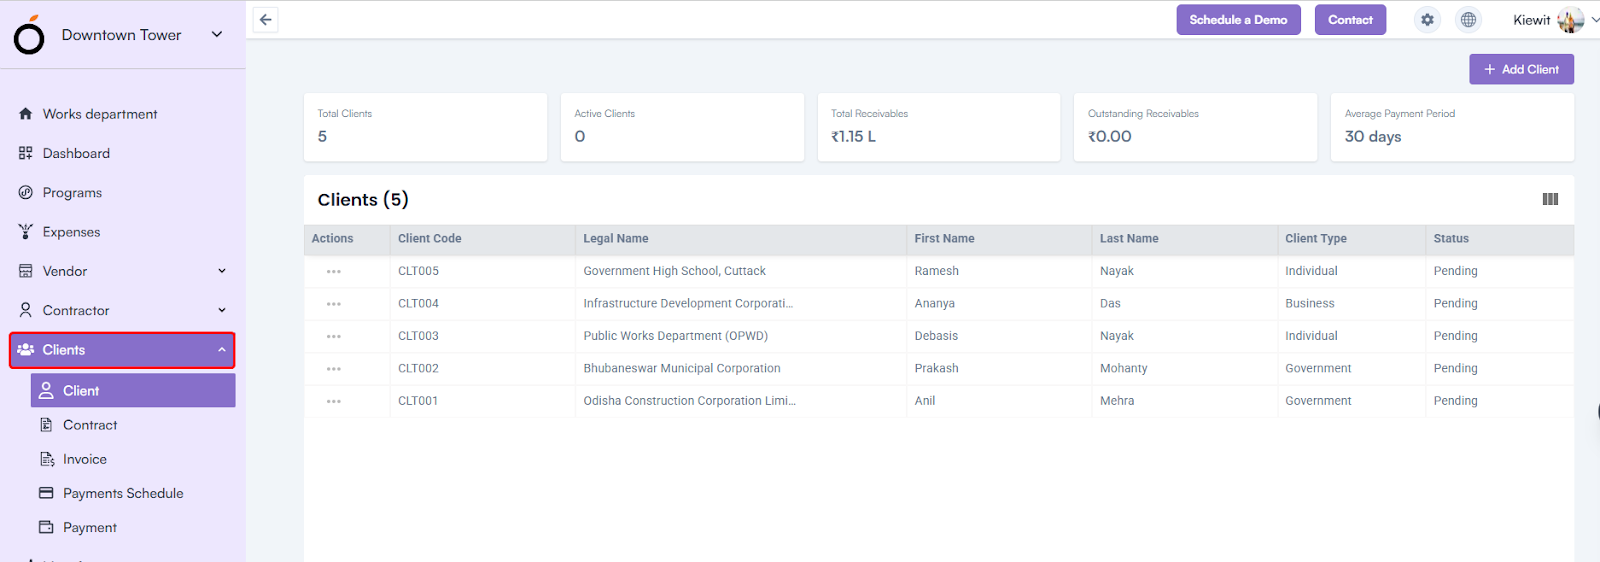
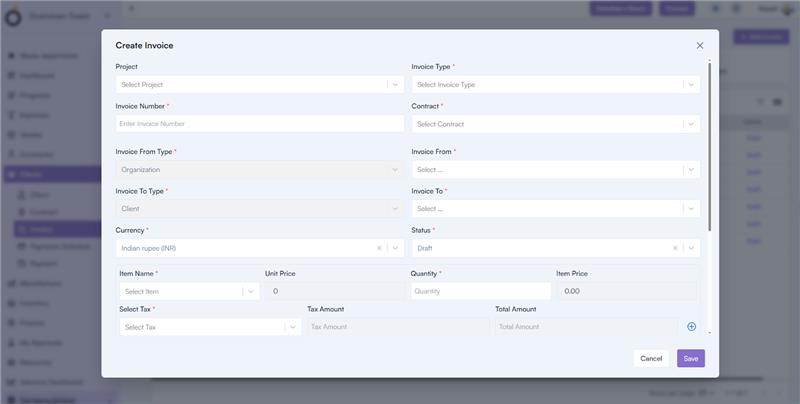
How to Access
Log in to the application > go to the left menu > click on Client Module > click on Invoice > click on Add Invoice.

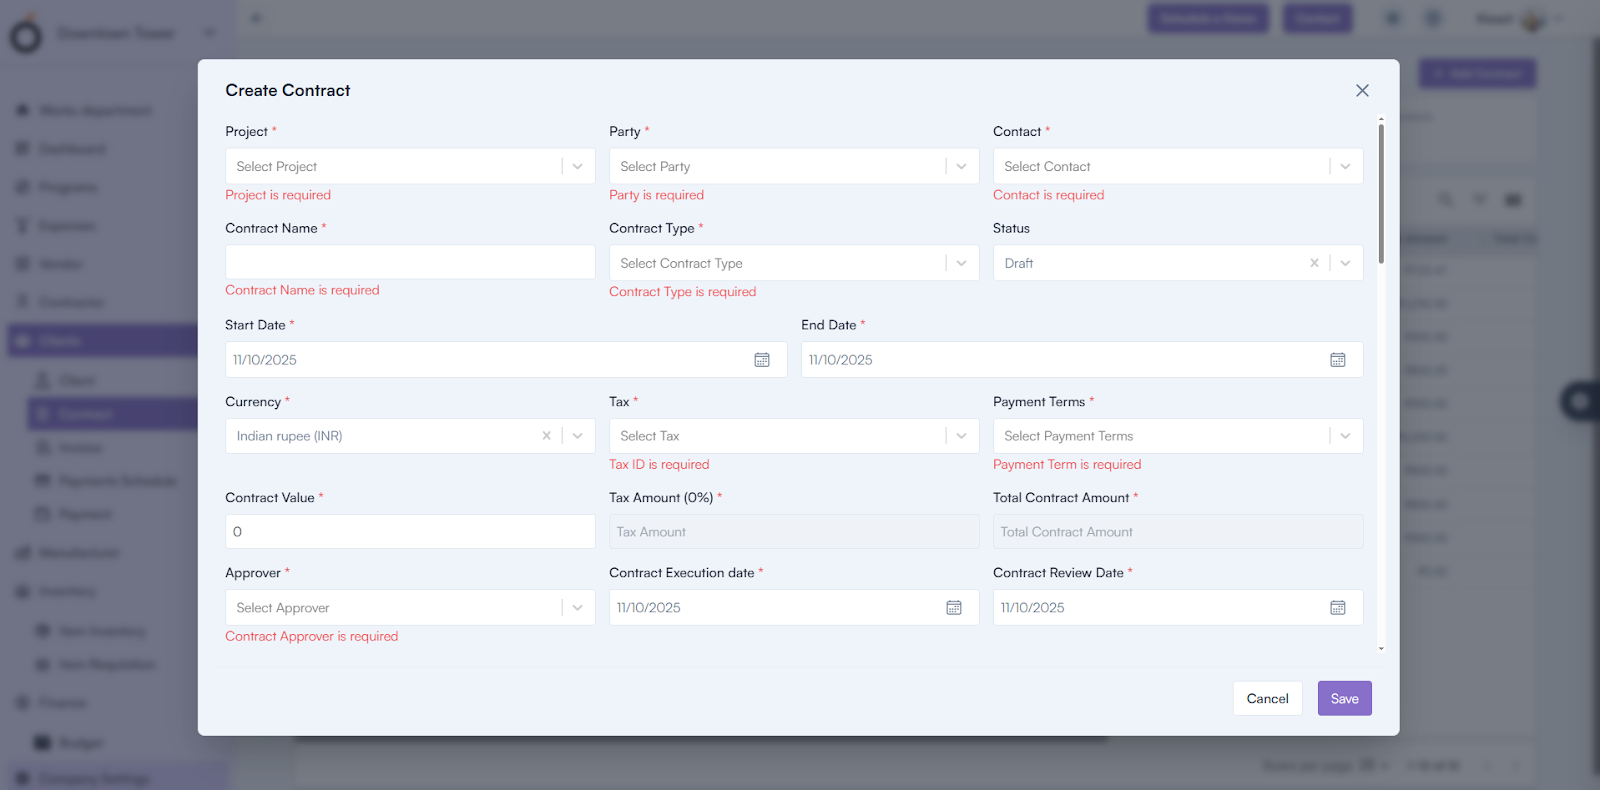
The Create Invoice pop-up will appear, where you can fill in the necessary details.
Steps to Create an Invoice
- Select Project Name – Choose the project for which the invoice is being generated.
- Select Invoice Type* – Choose whether the invoice is Regular, Proforma, or Credit.
- Enter Invoice Number* – Provide a unique invoice identifier.
- Select Contract* – Choose an approved contract linked to the project.
- Invoice From Type* – Select the organization issuing the invoice.
- Invoice To Type* – Select the client receiving the invoice.
- Select Currency* – Choose the currency for the transaction.
- Select Status – Choose the current invoice status (e.g., Draft, Submitted, Paid).
- Select Item Name* – Choose items from the list configured in Company Settings > Items Master.
- Unit Price & Quantity – Automatically populated based on selected items; quantity updates total item price.
- Select Tax* – Apply the relevant tax; Tax Amount and Total Amount are auto-calculated.
- Add Multiple Items – Use the “+” icon beside the Total Amount field to include more items.
- Auto Calculations – Invoice Amount, Tax Amount, and Net Amount are automatically calculated.
- Select Payment Terms* – Choose from payment terms configured under Finance Settings.
- Select Invoice Date, Due Date, and Invoice Receive Date* – Define important billing dates.
- Upload Attachments – Attach supporting documents (optional).
- Click Save – Save the invoice to complete the process.
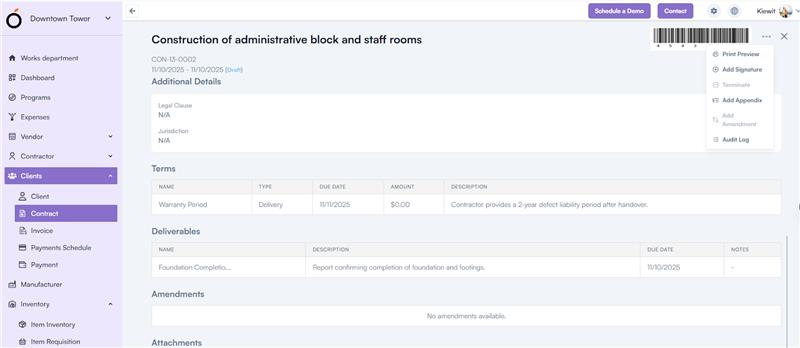
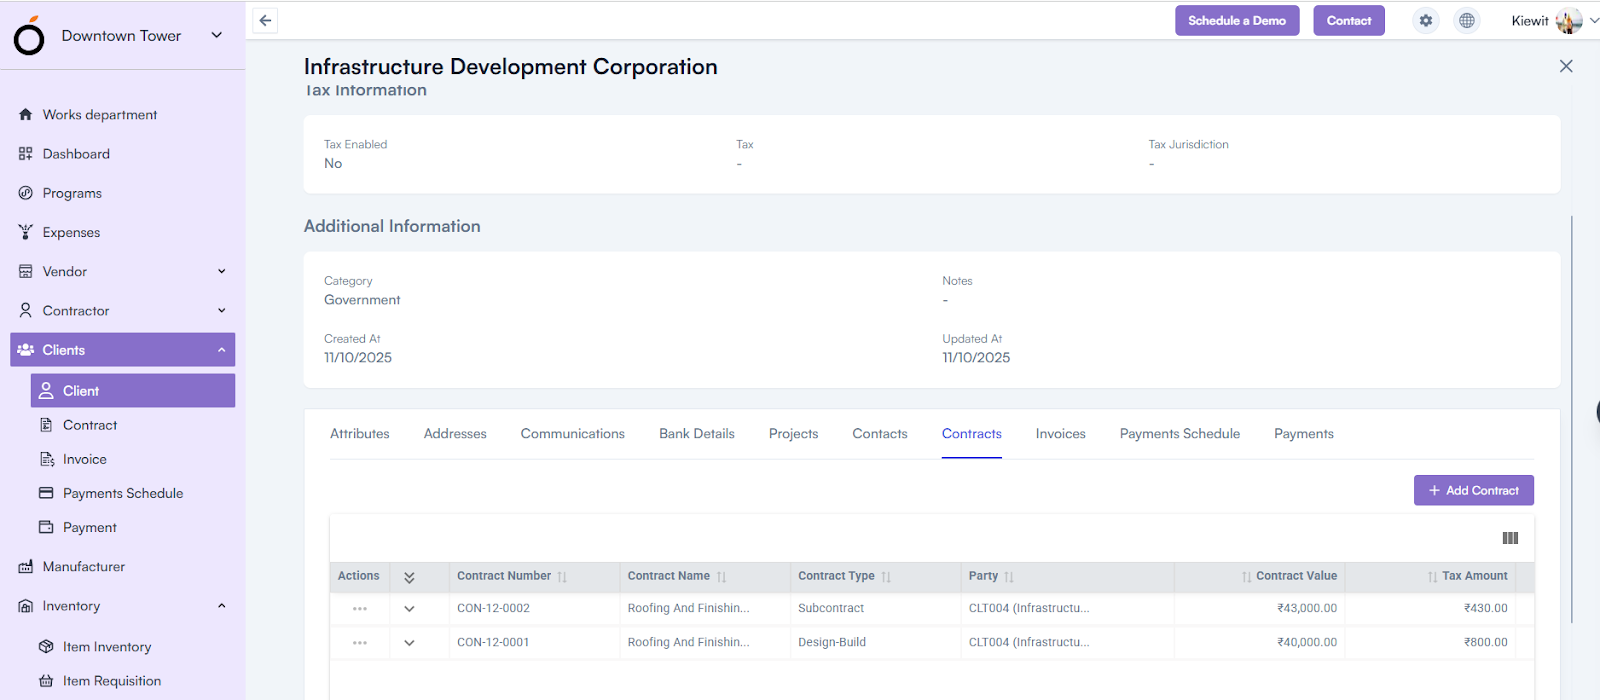
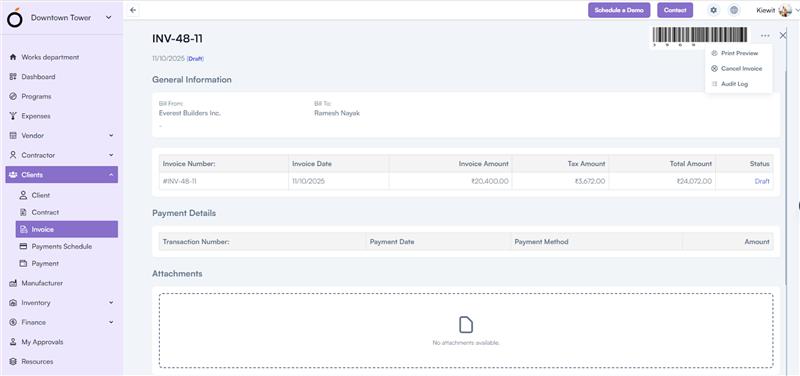
Invoice Details Page
By clicking on an invoice number, the system redirects to the Invoice Details Page, where all entered invoice details are displayed along with a barcode for scanning.
Available Actions:
- Print Preview – View and print the invoice in a formatted layout.
- Cancel Invoice – Cancel the invoice if required.
- Audit Log – View the change history and user actions performed on the invoice.
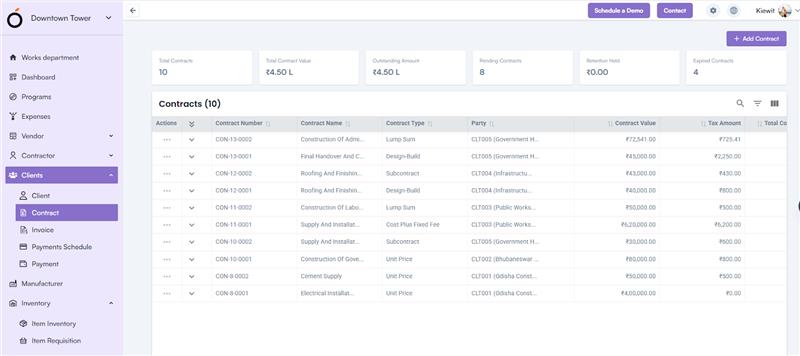
KPI’s
- Total Invoice – Displays the total number of invoices generated.
- Total Paid – Shows the total amount received from all invoices.
- Total Outstanding – Indicates the total unpaid balance from clients.
- Overdue Invoice – Lists invoices that have crossed their due date.
- Unpaid Invoices – Displays invoices pending payment confirmation.
- DSO (Days Sales Outstanding) – Represents the average number of days taken to collect payments.